Welcome to the PayDues platform! Whether you’re a small business owner, event organizer, or community leader, PayDues (accessible at dashboard.paydues.ng) makes it easy to collect payments, run voting campaigns, and manage events—all without needing a full website. Our dashboard is designed for seamless setup, with tools like Payment Links for quick transactions, Voting Links for engaging campaigns, and Event Ticketing for organized gatherings.
Creating a Payment Link: Simple, Secure Collections
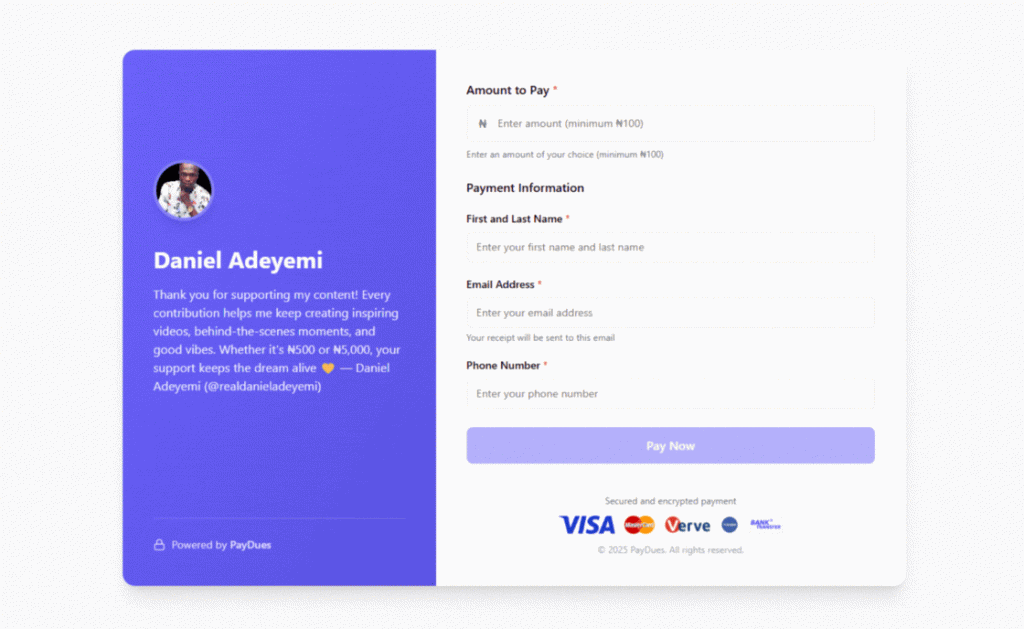
Payment Links are one of PayDues’ flagship tools—perfect for accepting payments without hassle. As described in our product docs: “Create a single URL that handles payer details and payments in one validated flow. Accept Card, Bank transfers, and USSD instantly—no website required.”
Use Cases for Payment Links
Payment Links shine in scenarios where you need quick, shareable payment options. Here are some real-world examples:
- Donations and Support: Collect contributions for personal causes, like funding a student’s education or supporting a community project. Share the link on social media for easy giving.
- Crowdfunding for Causes: Rally funds for health support (e.g., medical bills for a patient), village development, or disaster relief. Use “Customer Decides” amounts for flexible donations.
- Goods and Services: Sell products like handmade crafts, freelance services, or subscriptions. Ideal for solopreneurs without an e-commerce site.
- Memberships and Dues: Collect association fees, gym memberships, or school tuition with custom fields for details like “Student ID.”
- Events and Tickets: While we have dedicated Event Ticketing, Payment Links work for simple RSVPs or add-ons like merchandise.
Things to Consider Before Creating a Payment Link
Preparation ensures a smooth launch and better conversions:
- Define Your Purpose: Is it a fixed price (e.g., ₦5,000 product), multiple options (e.g., tiered plans), or open-ended (e.g., donations)? This determines the “Amount Type.”
- Audience and Sharing: Who will pay? Prepare a list of emails/social channels to share the link. Consider branding with a logo to build trust.
- Fees and Settlements: Decide if you (absorb fees) or the payer covers transaction costs. Enable auto-payout for next-day or T-1 day bank transfers, or disable for manual payout; you can request payout whenever you like.
- Custom Data Needs: List any extra info to collect (e.g., “T-Shirt Size” for merch, “Matric Number” for student fees). Up to 5 custom fields.
- Expiry and Limits: Set an end date if time-sensitive (e.g., flash sale). Ensure your bank details are verified for disbursements.
- Legal/Compliance: For donations, clarify tax implications. Test the link in preview mode before going live.
- Promotion: High-quality images boost clicks—aim for 200x200px logos.
Step-by-Step Guide to Creating a Payment Link
From the dashboard, go to “Payment Links” > “Create.” The process is multi-step for customization.
- Basic Details:
- Enter a Name (e.g., “Support My Education Fund”) and Description (keep it engaging, under 200 chars).
- Choose a unique Custom URL (e.g., paydues.ng/pay/support-my-education). Check availability—it must be memorable and brand-aligned.
- Choose Amount Type:
- Fixed Amount: One price for all (e.g., ₦10,000 service fee).
- Multiple Options: Add tiers like “Basic: ₦5,000” or “Premium: ₦15,000.” Great for plans.
- Customer Decides: Ideal for donations—payers enter any amount (minimum ₦100 recommended).
- Fee Configuration:
- Toggle if the payer pays fees (adds to their total) or you absorb them. Consider your margins.
- Settlement Settings:
- Enable Auto Payout for instant bank transfers.
- Optional: Use a custom bank account for this link only (select from verified accounts).
- Customer Details:
- Require fields like Name, Email, Phone (defaults: First/Last Name, Email).
- Add Custom Fields (e.g., “Membership Number”—mark as required if needed).
- Branding:
- Upload Logo (200x200px recommended) for the payment page.
- (Banner upload is available but optional in some views.)
- Review and Publish:
- Preview the public page.
- Save as draft or publish. Share via link/QR code.
Managing: Edit anytime (URL stays the same). Track payments in “Transactions.” Pro Tip: Upload high-quality images for 20-30% better conversions; double-check settlements.